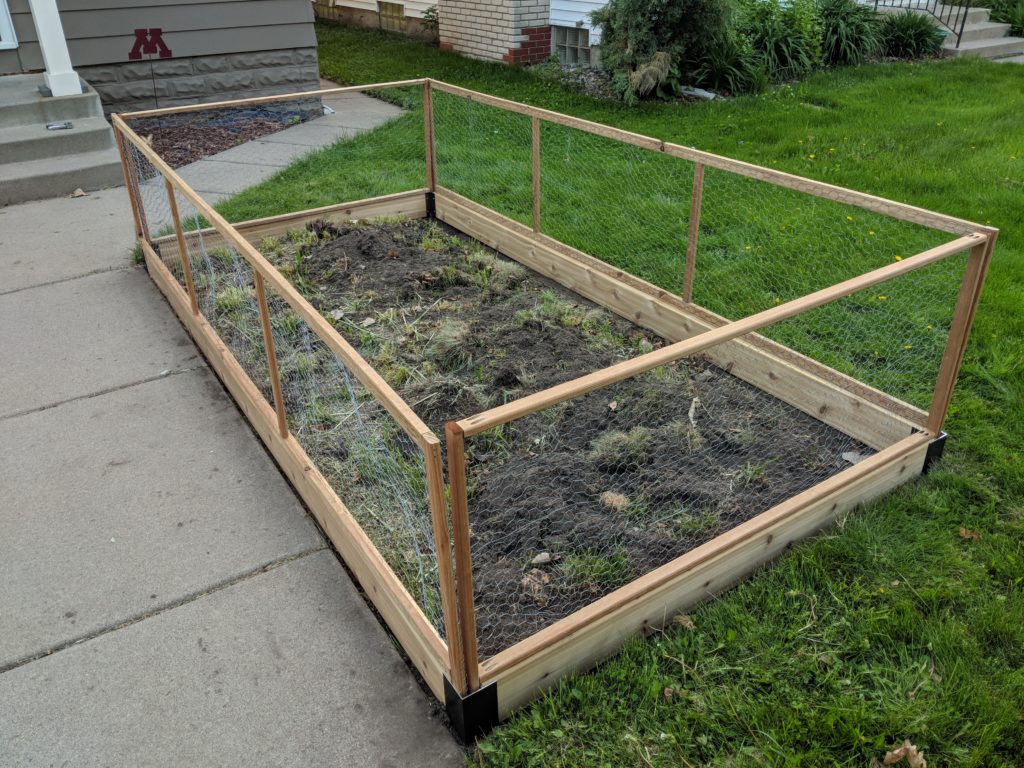
There are a ton of rabbits on our neighborhood, so we wanted to find an attractive way to keep them out of the garden. After a fall and winter with chicken-wire + four metal fence posts, we started researching different ways of building a slightly-raised garden bed with a well-supported fence around the outside. Additionally, we wanted the fence to be easily removed as needed for planting, weeding, cultivating, harvest, etc. Here’s the finished project:
Planning
After looking around at pinterest and various websites, we found three potential designs that might work:
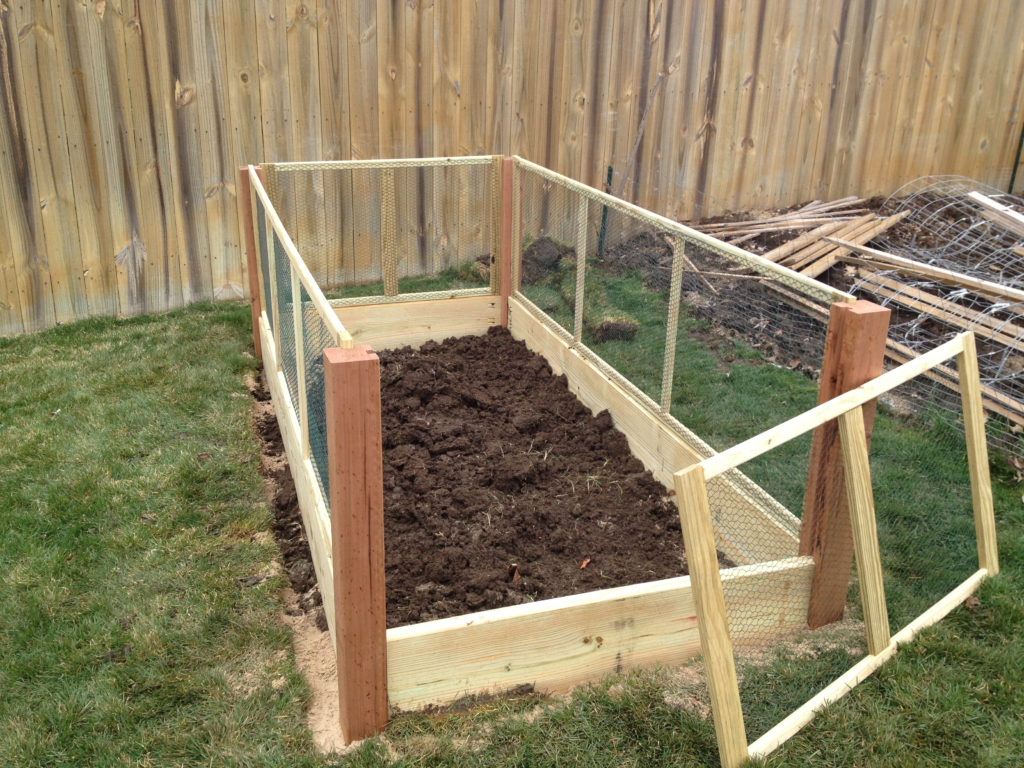
Option 1 – Notched corner post with framed fence panels
Pros: Looks nice, would be sturdy, reasonable price.
Cons: Need to use table saw to cut channels in posts. Unsure how deep into ground to drive posts. If the posts shift over time, it may become difficult to slide the fence panels in and out.
Cost estimate: $147
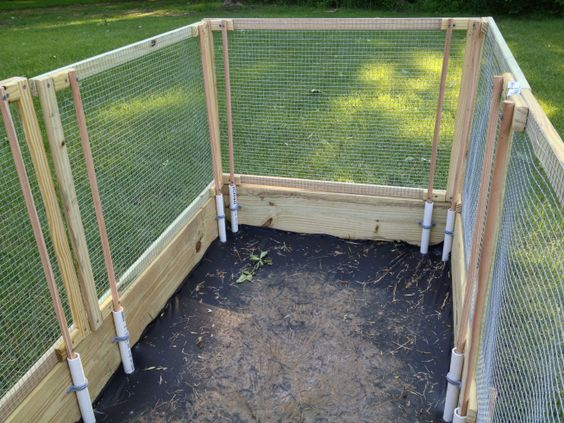
Option 2 – Normal frame plus PVC holders for fence panels
Pros: No expensive corner brackets or posts. PVC holders like this are widely-used and can be used with hoops+plastic to make a mini greenhouse.
Cons: More fiddly to build fence panels, need to keep tubes clear of dirt
Cost estimate: $132 (with 4×4 corners) or $106 (no corners, just screw 2×6’s together)
Option 3 – Pre-fab metal corners with fence panels that slide into holes in the corners
Pros: Metal corners would make it very sturdy and look very nice. Fence panels would be easy to keep square even if things shift around.
Cons: Metal corners are more expensive ($12.50 each from Gardener’s Supply Company)
Cost estimate: $145
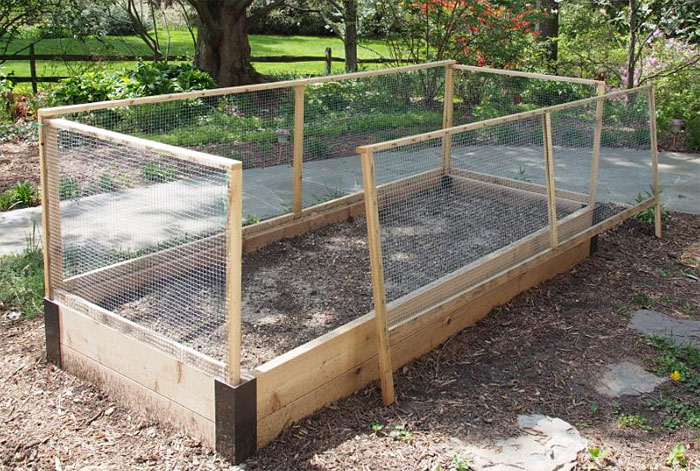
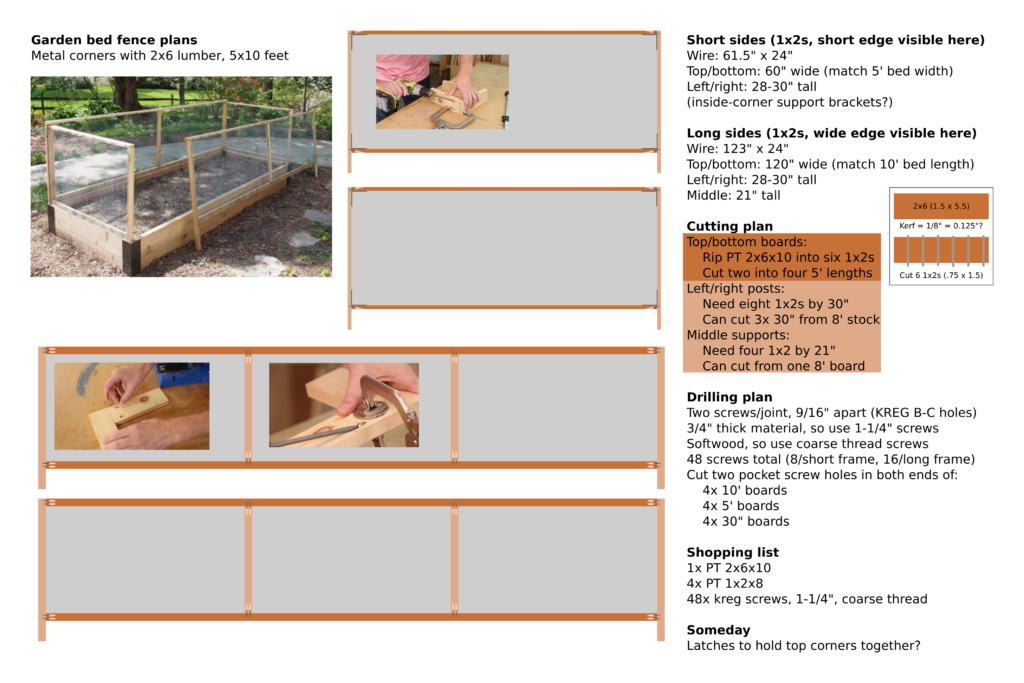
Since this garden bed is in our front yard, we really wanted it to look nice, so we chose Option 3, using the pre-fab metal corners to keep the bed nice and square, with drop-in fence panels. Here’s the detailed plan we came up with (click to view higher-resolution image):
In the past, I’ve wanted to experiment with pocket screws, and this seemed like a decent project for an experiment. I borrowed a Kreg jig from a friend, and bought a box of their blue outdoor pocket screws. (We decided not to use the extra support brackets shown in the plan.)
Results
For once, it turned out like the pinterest image! Nailed It!
Lessons learned
If I was to do this project again, I would make a few changes to the plan:
- Design the bed to be 4×8′ instead of 5×10′, because it’s difficult to get 10′ lumber in all sizes and types. I wasn’t able to find pressure-treated 1x2s in 10′ lengths, so I had to rip a 2x6x10 into 1x2x10s using the table saw, which was tricky.
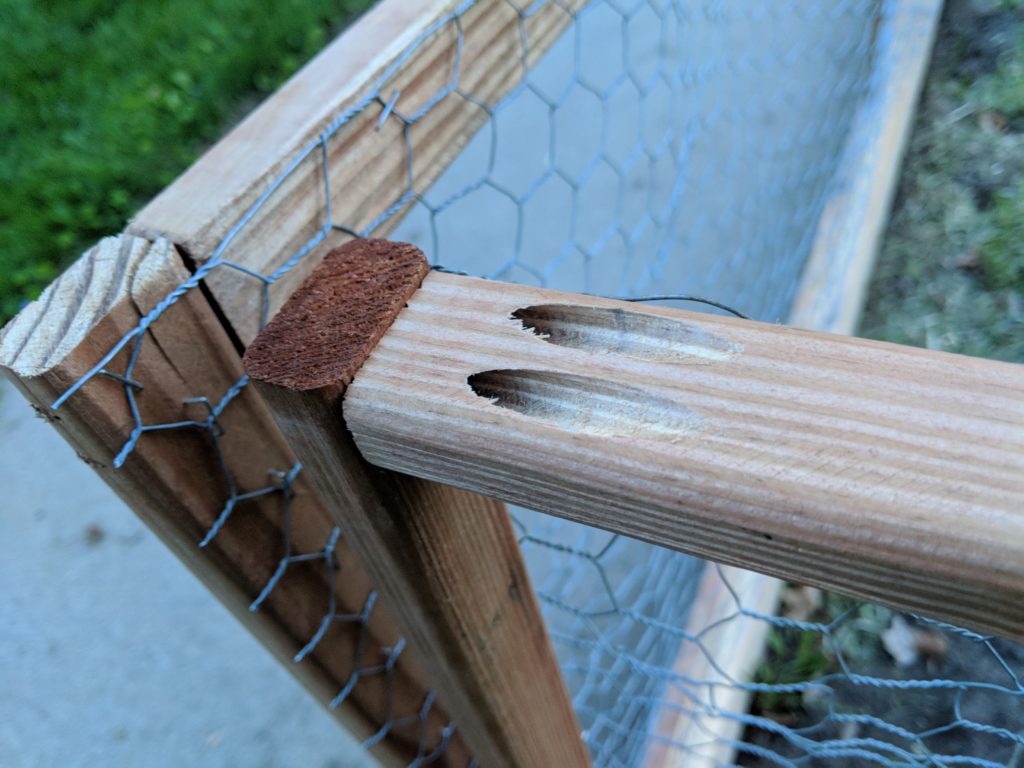
- The pocket screws had a tendency to split the thin 1×2 boards. I may have mis-configured the drill jig, or maybe I should have pre-drilled the other board too, or maybe should have used the fine-thread screws instead of coarse-thread screws?
- I still need to figure out some way to keep the upper corners of the fence panels together. Maybe a door hasp closure or some velcro or something.
