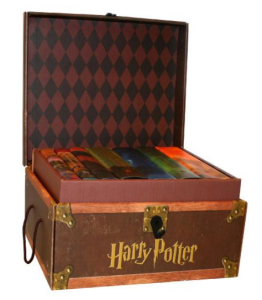
For Christmas 2015 I wanted to get the Harry Potter Hardcover Box Set for my dearest wife. The official box set hardcovers are very expensive ($120+) and come in a pretty cheap-looking cardboard “trunk” (photo at right). Plus, we already had all the books in hardcover, so I thought I would make a cute little wooden trunk myself. Everyone loves homemade gifts.
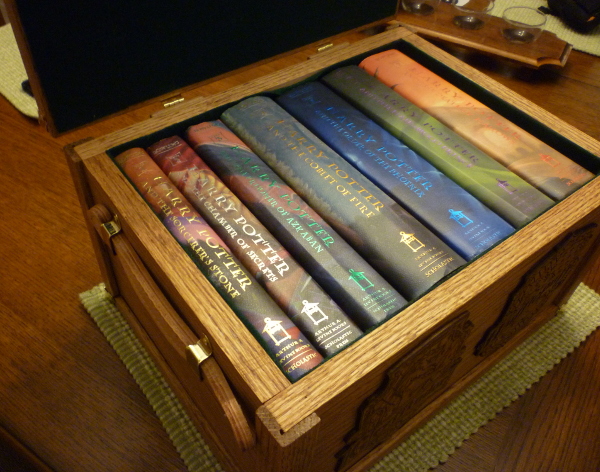
Lots of time and money later, I had finished a nice trunk, perfectly-sized for all seven HP hardcovers. Like all projects, I should have taken more photos during the process, but hopefully this write-up gives you a decent idea of what I did and how you could do the same if you want.
Plans and Designs
My plan was to use nice hardwood to build a simple box. I wanted to make it look somewhat like a trunk, but without getting too complex in terms of build. Most trunks I have seen have had some wooden banding, metal hardware accents, and a lock. I discovered a website called Antique Hardware & More that sells a variety of trunk hardware pieces, including many for “doll trunks” (which are scaled-down trunks for dolls and doll clothes) that would be perfect for my little trunk. I decided to go with these pieces of hardware:
- 8 x Small or Doll Trunk Corner (T-132)
- 2 x Natural Leather Trunk Handle (T-106N)
- 2 x Pair of Brass Plated Trunk Handle Loops (T-145)
- 2 x Brass Plated Stamped Steel Trunk Flap Hinge (T-214)
Based on the size of those items, I went to browse the selection of hardwood at the local home improvement store. My nearby Home Depot stocked oak hardwood with thickness of 0.75 inches, and oak corner molding that was 1″ wide on the outside, and 13/16″ on the inside. I I sketched out a few designs in my notebook for a trunk make from six flat pieces, with the corner molding on the outside edges. But first, I needed to measure the size of the books, which came out to be approximately 12.5″ wide, 9.25″ tall, and 6.5″ in the third dimension. Page 2 includes the detailed design top view and front view, including extra space for felt. Page 3 is the cutting plan with laser-cutter region notes, plus notes about laser engraving settings.
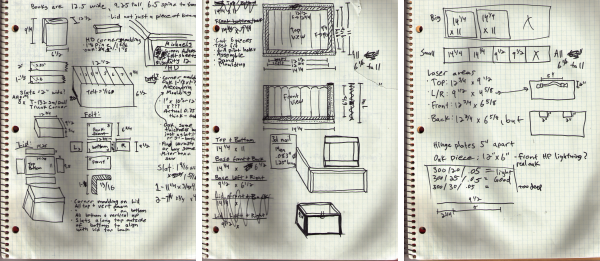
(Click to open PDF of notebook scans – 3 MB)
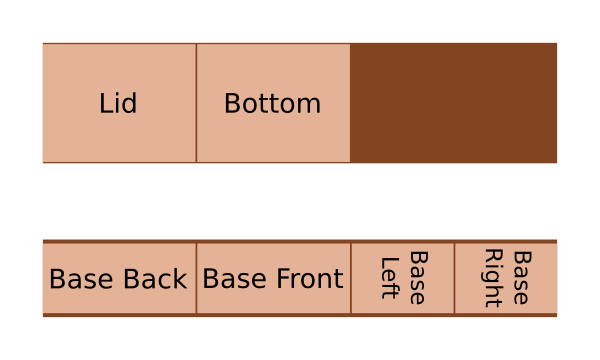
Here’s a cleaned-up version of the cutting plan. I like using Inkscape with real-world dimensions when planning things that represent the real-world, so that way I can be 100% certain that my plan will work.
With the design fleshed-out, I was ready to start cutting and drilling and building. Unfortunately by now it was December in Minnesota, and I had to either make a mess in our nice heated office at W&L, or work in the freezing cold garage. I did a little of both, and it didn’t make a huge mess either.
Production Step 1 – Build a box
The first step was to build a six-sided box with a hinged lid. Using a table saw I measured twice and cut once, to create the six pieces from the cutting plan above. I drilled and countersunk holes for the screws, and assembled the five pieces for the bottom part of the box.
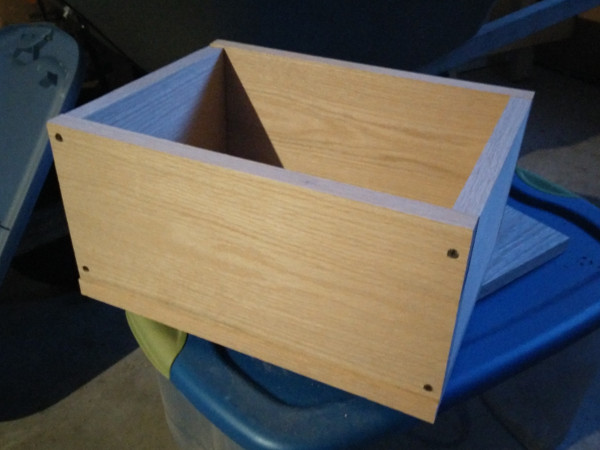
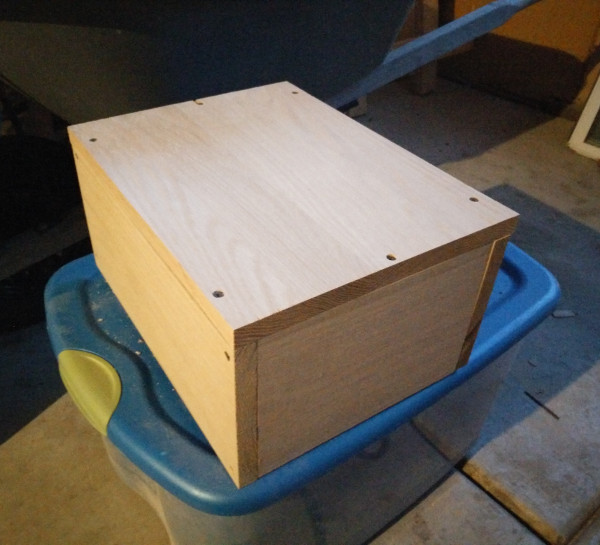
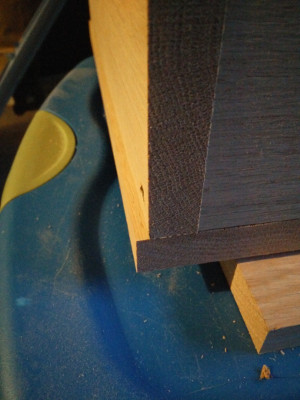
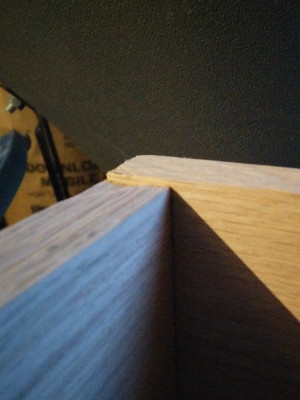
Despite my best efforts, the box was a little bit out of alignment when assembled. Maybe the wood shrunk and twisted as it dried (or soaked up moisture from the garage), or maybe my fabrication skills aren’t as good as I had hoped, but it was a little bit annoying that the edges did not perfectly align. I had to use a chisel and plane to remove the excess wood in places to try to avoid gaps.
I thought this would be a good time to do a test-fit with one of the books.
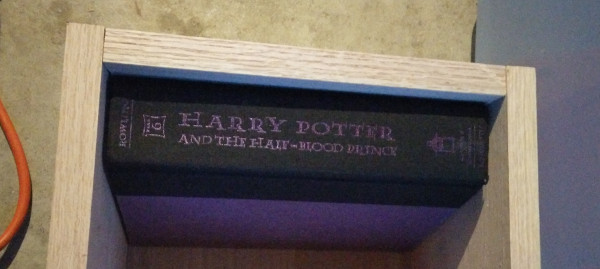
The book fit well, and there was still some wiggle room for adding the nice green felt lining.
Production Step 2 – Add edging and hardware
This part took a long time and was quite frustrating. I bought oak corner molding, and used a miter box to cut it to size, so I could put it on all twelve edges of the six-sided box. It was difficult to get the diagonally-cut pieces of molding to butt together nicely, and it took a lot of trial and error with a plane to make things look halfway decent. In the end it didn’t matter, since the screws of the corner metal pieces ended up making gaps between most pieces anyway. Probably not the best plan but it still looks pretty nice.
After cutting each piece of molding I clamped it to the box, then used the drill press to drill a hole through the molding and into the box for the nails. I probably should have used glue too, that may have helped with minimizing the gaps from the corner pieces’ screws.
After the molding was attached I moved on to the metal hardware. The eight corner pieces needed to have their holes marked and drilled, then screwed in place. Initially I forgot how strong real hardwood is (and forgot how weak brass screws are), and broke off a couple screws in holes drilled too small, so I used the next larger drill bit and didn’t have any trouble.
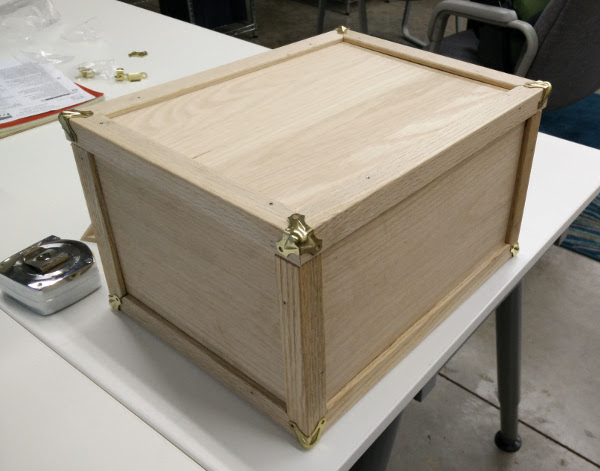
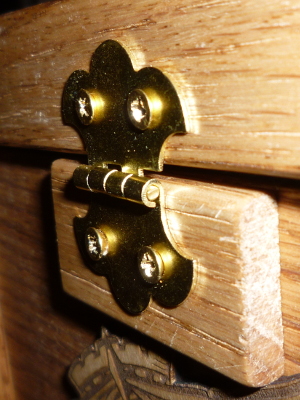
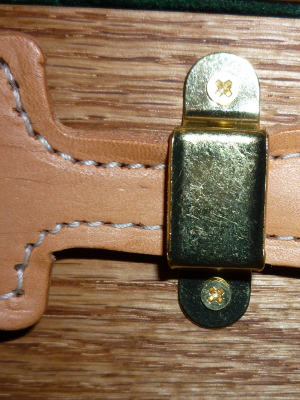
The leather carrying handles are each attached using two metal brackets, which were simple to attach. I sort of estimated where to put the handle brackets based on how much slack was needed to get your fingers between the handle and the box. The hinges were tricky (I’ve never been good at hinges) since the molding around the lid meant the hinges couldn’t be attached to the box itself, but needed to be offset further back to properly align. I cut two pieces of extra oak to compensate for the gap. The lid is a little crooked and one corner is a little higher than the other, but it still looks nice. The felt helps hide the imperfections.
I used plain white glue, spread very thin, to attach the felt to the inside of the box and underside of the lid. Be careful not to press-down on the felt with too much force, otherwise the glue will seep through and make the top of the felt rough and crunchy.
Since Christmas was coming up rapidly, this is how far I was when I gave it to my darling wife Anna. I resolved to finish the rest of it (staining and artwork) within a month after Christmas.
Production Step 3 – Artwork

I wanted to add a bunch of Harry Potter artwork to the outside of the box to make it look nice. Since I have access to a laser cutter/engraver, I planned to use that to add artwork directly on the box. However, after doing some test engraving on some oak scraps, I realized that the grain of the wood makes it kind of difficult to see the detail in the engraving.
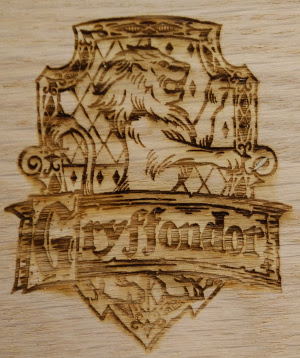
Instead of engraving directly on the box itself, I decided to instead laser engrave and cut-out the designs from the usual 3mm Baltic birch plywood that we use for all sorts of other projects. This worked much better, and added some needed depth to the designs. Also, the smooth grain of the birch showed the engraving detail better, and the interior layer of darker wood accepted the stain more, leading to better contrast between engraved and non-engraved parts.
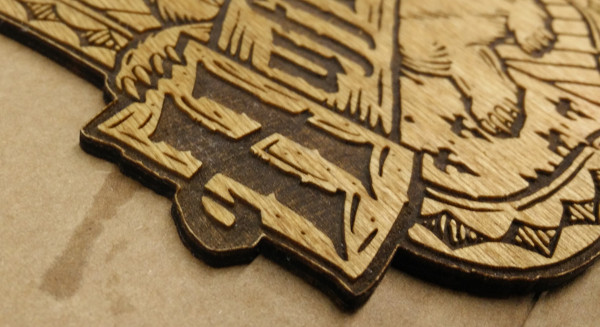
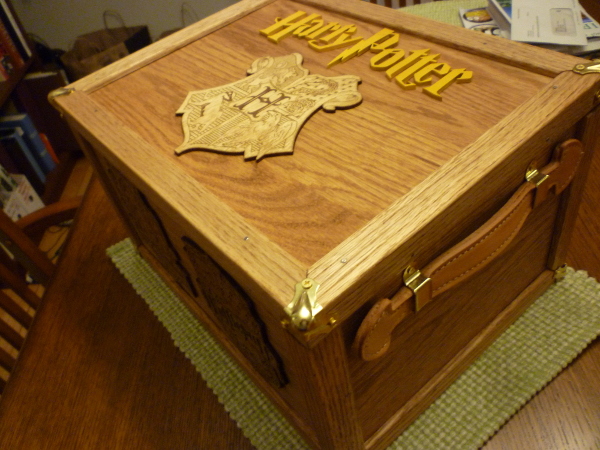
I first cut the Harry Potter wordmark (the lightning bolt “Harry Potter” from the title screen of the films) from 3mm maple. Here’s a short video of part of that laser cutting:
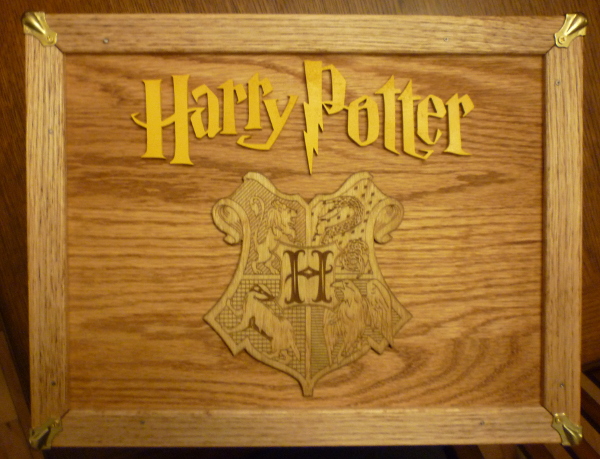
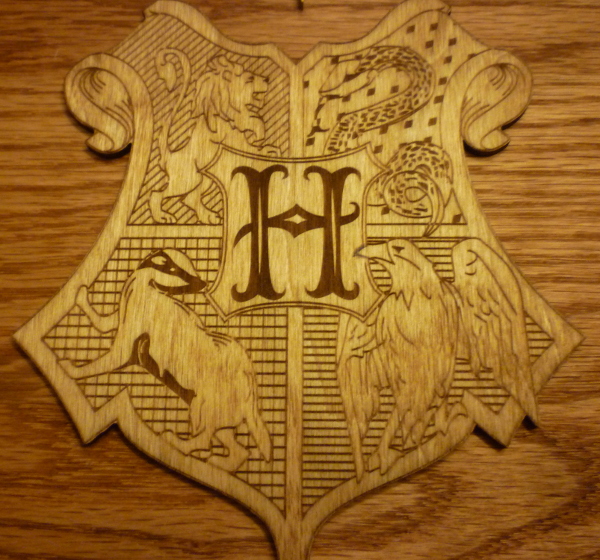
I also found an SVG of the Hogwarts crest, and after cleaning it up and making it engravable, it turned out quite nice.
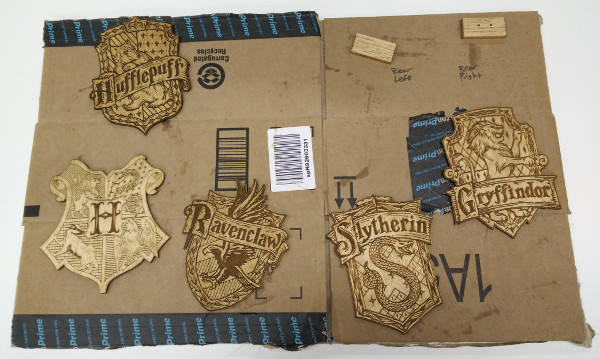
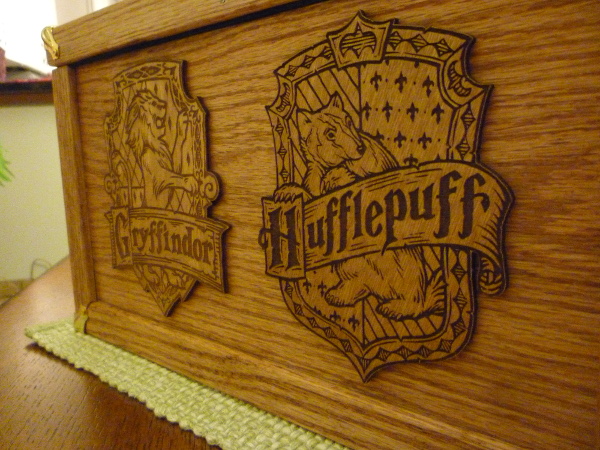
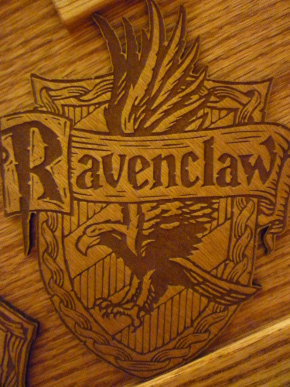
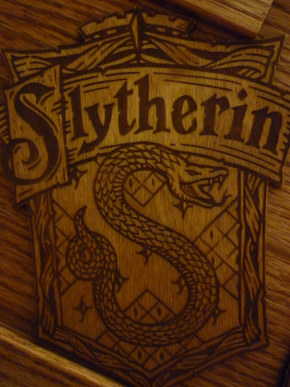
Once I finished the wordmark and the Hogwarts crest, I found some really great fan artwork for the four house crests. I imported the raster PNG files into Inkscape (an open source SVG editor) and then traced the paths to get a vector version. This allowed me to select the outline of each crest, expand it slightly, and use that as the cutting outline. This made for really nice individual house crests, as they all have unique and interesting outlines.
I used non-metallic gold spray paint to pain the Harry Potter wordmark, and some wood stain for the other artwork. The laser-cut wood really soaked up the stain in the engraved sections, which make it look really quite nice. I experimented with engraving depth and speed on the four house crests, and I think the deepest (Hufflepuff) turned out nicest. The deep engraving reached into the middle layer of the plywood.
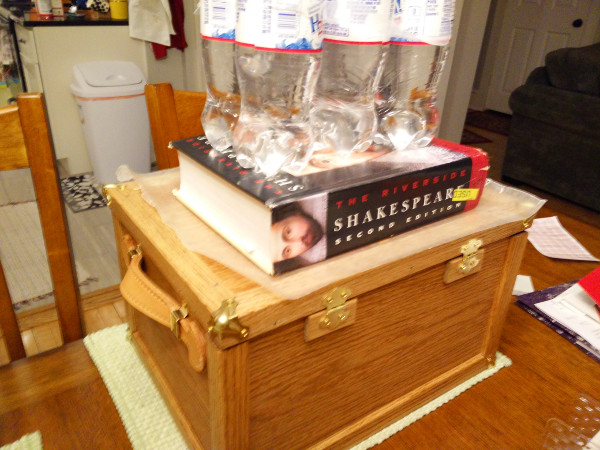
I arranged and glued all the pieces to the top and sides of the trunk. The top had the wordmark and Hogwarts crest, and the four house crests were arranged on the front and back. I used the heaviest book we have (the Riverside Shakespeare aka “The Bard’s Tome”) plus some water bottles, to weigh down and “clamp” the parts while the glue hardened.
Finished Product

Future Plans
It’d be really nice to add some way to keep the lid from opening all the way, which puts a ton of stress on the hinges and their screws. I’ll probably use two pieces of green ribbon, attached to the front edges of the lid and the box, so the lid can only open just past vertical.
Download Artwork Files
To be clear, I didn’t create any of the artwork used on this project. I used google image search to find cool fan art, and then vectorized and cleaned up the files to make them work with the laser engraving and cutting. Here’s a ZIP archive of the SVG files I used for the laser cutting. Download (ZIP, 930 kB)
This is exactly what I want. Please make me one. I’m buying this ❤️
Prolly could never afford it but this is the MOST beautiful piece of art I have ever seen!!!!! I’m in love with it
Any chance you would make me one of these for my day for Christmas? If so what would you charge?
Hi Heather, please email me to discuss further: matthew at mbeckler dot org :-)
Can I buy one of these?
Hi Cat3, this took a long time to build, so I don’t think I would be able to build another in time for Christmas 2017. Maybe after that? Let’s discuss via email: matthew at mbeckler dot org
Hello, would you be able to tell me the dimensions on the laser engraved designs you created and placed on the side of the box?
Thank you!
Hello, I sized each design to be six inches tall.
Thank you! Would you be able to tell me the size of the letters that spelled out Harry Potter as well?
The letters (wordmark) are 11.77″ wide and 3.93″ tall overall.
Hi Matthew….you are amazingly talented!!! I was searching online for somewhere I could buy a nice, wooden box to hold the set of Harry Potter books that I’m intending to buy my 8 year old daughter for Christmas this year. She is absolutely obsessed with all things Harry Potter and up till now we have borrowed the books from the library. But as I know for sure she will love these books as much as I have, I want to buy her the full set and I thought the icing on the cake would be having a gorgeous box like this to keep them in. Any chance you’d be open to making and selling another box? Thank you for your consideration!!!
Hi Jessica, thanks for the comment! I’ll send you an email to discuss :-)
Hi Matthew, is it possible to order the name Harry Potter and all the Logos only?
Yep, we can do that. I emailed you to discuss the details.
Hi Matthew,
I am in the process of creating one of these as a late Christmas gift. What size screws did you use to assemble the box?
Hi Andrew, I assembled the box using small nails (these days I would use a nailgun with small brad nails, plus wood glue). I attached the hardware (corners, hinges, handles) using #6×1/2″ brass screws. Since brass is beautiful but pretty weak, especially when screwing them into hardwood like oak, be sure to drill proper pilot holes first. I found that 7/64″ holes worked well, but still, take your time as you turn the screws and don’t over-tighten otherwise you run the risk of breaking a screw. Good luck!
Can I get the files so I can make this Harry Potter box?
Hi Sabrina, the files are linked to at the end of the original post, search for “Download”, or use this direct link: http://www.mbeckler.org/blog/wp-content/uploads/2016/02/harry_potter_trunk_files.zip
I would like to know further details on how to purchase one of these thank you
Hi, are the books easy to get out without damaging the ends of them or upending the box. They seem a little snug and flush with the top. Or is there a way that I am not seeing. Kind regards
Good question. I’ve been able to get the books out by grasping the spine edge by the front and back covers and pulling each one up and out. Certainly easier once the first book has been removed. You can also adjust the overall design size if you’d prefer to have more breathing room.